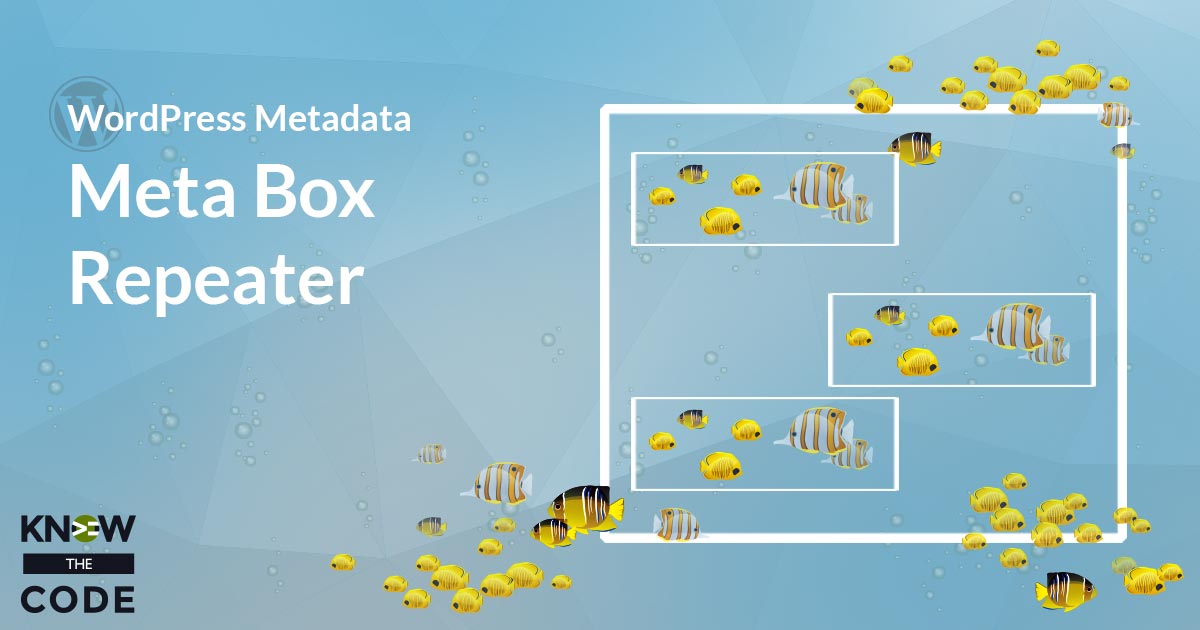
The repeater is a popular interface within a WordPress meta box. It allows your client to dynamically create new custom fields for a specific piece of content. In this hands-on lab, you’ll dive deep into JavaScript as you build your own repeater from scratch.
Labs
Labs are hands-on coding projects that you build along with Tonya as she explains the code, concepts, and thought processes behind it. You can use the labs to further your code knowledge or to use right in your projects. Each lab ties into the Docx to ensure you have the information you need.
Each lab is designed to further your understanding and mastery of code. You learn more about how to think about its construction, quality, maintainability, programmatic and logical thought, and problem-solving. While you may be building a specific thing, Tonya presents the why of it to make it adaptable far beyond that specific implementation, thereby giving you the means to make it your own, in any context.
Add a FAQ Feature to the Collapsible Content Plugin – Part 2
In this hands-on lab, you and I will walk through the entire process of adding a new feature to an existing WordPress plugin. You’ll start with the Collapsible Content plugin and then add a FAQ feature to it. This feature will require you to plan, think, and execute building a custom post type, custom taxonomy, advanced SQL queries, custom archive, and shortcode.
Change the Icon
This is our last task. We need to change the icon when clicking on the visible message. You’ll use the jQuery.data() construct to grab the data attributes off of the icon element. Hum, we originally coded those attributes onto the visible message. Let’s rethink that. It makes more sense to put them onto the icon element. Why? It’s easier for us to get the values in our script. Then you and I will work through the rest of the change icon function. And you get to learn that JavaScript doesn’t wait for functions to get done before running the next […]
Animate the Hidden Content
Okay, now it’s time to talk about the sliding animation. You learned the basics of .slideUp() and .slideDown() in Episode 7 of the Introduction to jQuery lab. Let’s explore the options and see what these constructs do to the inline CSS for the elements.
Get the Element’s Index
The way we setup the HTML markup, the elements line up one-to-one. Therefore, if we grab the index of the clicked element, then we will be able to grab each of the needed elements. This strategy allows us to reduce our code as well as minimize hits to the DOM. We can go fetch the elements we need when the page loads and store those into a variable. That means, we don’t have to traverse the DOM on every click event. You’ll also get a quick explanation of this in JavaScript.
Building the Click Handler
Let’s build the code that runs when the visible content is clicked. You’ll start by thinking about everything that needs to happen. Let’s lay out the sequence. Then we’ll start building each part of it. In this episode, you are rewriting a little bit of code. It’s a good exercise in the plugin development thought process. As you develop, you want to think about how to improve your code.
Plugin Architecture
Let’s discuss the plugin architecture and build the folders and main files. We’ll think about the intent of the structure and each component. We’ll talk about why you want to build your code in modular format that complies to Single Responsibility Principle. Let’s build our file structure.
Lab Introduction
Let’s get you started on the right foot. This episode will introduce the lab to you. You’ll spin up a Sandbox development website and get UpDevTools installed.
Let’s Build the Collapsible Content Plugin – Part 1
Let’s get you started building custom (from scratch) WordPress plugins. In Part 1 of this series, you are going to build the basics of the Collapsible Content plugin. As you are building it with Tonya, you’ll learn deeply about custom plugin development, file structures, jQuery, PHP, WordPress core, shortcodes, Gulp, and much more.
Wrap It Up
Let’s recap what you learned in this hands-on lab. You’ll also add in animation effects too. Congratulations! You did a great job.