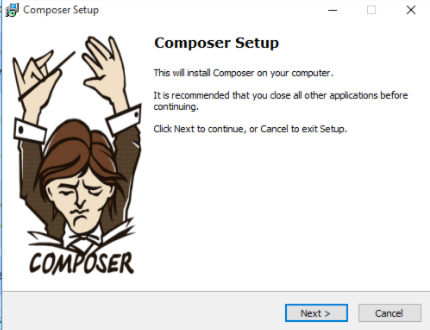
In this lab, you will install Composer, the PHP Dependency Manager, onto your Windows machine. We use Composer in our library videos for the basic plugin which includes Kint and Whoops. In your projects, you will use Composer to package up your project as well as load and manage dependencies for you and autoload your files.
Disclaimer
Composer may change their installation process. Therefore, when in doubt, the master installation instructions are at this link: https://getcomposer.org.
This lab was done on December 2015.
Composer serves two purposes in your projects:
- Dependency management for PHP
- File autoloading
Dependency Management for PHP
Using Composer, you can specify production and/or development packages, which are stored locally in your project’s assets/vendor folder. Running an update will update all of the packages specified in the composer file.
File autoloading
For Object Oriented Programming (OOP), Composer allows us to specify the location of the class files. Then, the files are automatically loaded when an object is instantiated. Instead of having include() or require() within your code, Composer abstracts away the file loading process. The result is clean, purposeful code.
Time to Install Composer
Open your browser and navigate to https://getcomposer.org. Click the “Getting Started” button. Then, click the “Using the Installer” link under “Installation – Windows”. Next, click the “Composer-Setup.exe” link to download the installer.
Once downloaded, run the installer. Follow the prompts.

When the installation is complete, open ConEmu (terminal) and type composer. If you receive a list of commands, Composer is properly installed on your machine.
Updating and Uninstalling Composer
Before running updates or uninstalls for managers, make sure you’ve correctly installed Git for Windows, and that you have verified the install of Composer, Bower, and Gulp by checking for your --version in the terminal window. If you are showing a version for each of these, they are installed, and you are good to move on to the next section.
Before updating, you should check the current version of Composer on your local machine. To do this, type into your terminal application:
composer –-version or
composer -V

Update
Since Composer manages the updates of your dependencies, it is possible for you to update the dependencies with the command below:
composer update
If you do not currently have any active projects with dependencies managed by Composer in your working directory, then Composer will let you know it was unable to find a composer.json file.
To update Composer itself, you should run the command:
sudo composer self-update
This will run the update script for composer. Once it has completed the update, you will see something similar to the following:

And that is all there is to updating Composer and its dependencies.
Uninstall
To uninstall packages in Composer, run
composer remove <package-name>
Make sure to remove the “< >” from around the package name. This will uninstall the package.
